Checking the Accessory KitVerify that the following additional items are included with the UPS:UPS user's guideQuick start instructionsSoftware Suite CDUSB cableSerial cablePower cord (for models without an attached power cord)If you ordered an optional Extended Battery Module (EBM), verify that the following additional item is includedwith the EBM:EBM user's guideNOTE Discard the EBM user's guide if you are installing the EBM with a new UPS at thesame time. Use the UPS user's guide to install both the UPS and the EBM.Rackmount InstallationThe Eaton 9130 rackmount cabinet comes with all of the hardware required for installation in a standard19-inch rack or JIS seismic rackmount configuration with square and round mounting holes. The railassemblies adjust to mount in Standard 19-inch racks with front to rear rail distances from 61–76 cm(24–30 inches) deep.NOTE Rackmount models must only be installed horizontally in the rack. Do not mount therackmount models in tower mode (vertically).Checking the Rail Kit AccessoriesVerify that the following rail kit items are included for each cabinet:Left rail assembly:- Left rail- Rear rail- (3) M4x8 pan-head screwsRight rail assembly:- Right rail- Rear rail- (3) M4x8 pan-head screwsRail hardware kit:- (10) M6x16 pan-head screws- (10) M6 cage nuts- (2) rear stop brackets- (2) M3x8 pan-head screwsMounting bracket kit:- (2) mounting brackets- (8) M4x8 flat-head screwsInstallation
 Eaton 9130 700/3000 VA UPS User’s Guide 164201718—Rev 7 www.eaton.com/powerquality 14Tools RequiredTo assemble the components, the following tools may be needed:Medium flat-bladed screwdriverPhillips #2 screwdriver7 and 8 mm wrench or socketRackmount SetupCAUTIONThe cabinet is heavy (see page 55). Removing the cabinet from its carton requires a minimum oftwo people.If installing optional EBM(s), install the EBM(s) directly below the UPS so that all wiringbetween the cabinets is installed behind the front covers and is inaccessible to users.NOTE Mounting rails are required for each individual cabinet.To install the rail kit:1. Assemble the left and right rails to the rear rails as shown in Figure 4. Do not tighten the screws.Adjust each rail size for the depth of your rack.Rear RailsLeft Rail Right RailM4 8 Pan-HeadScrews (6 places)Figure 4. Assembling the Rails2. Select the proper holes in the rack for positioning the UPS in the rack (see Figure 5). The rails occupy fourpositions on the front and rear of the rack.3. Secure one rail assembly to the front of the rack with one M6x16 pan-head screw and one M6 cage nut.4. Using two M6 cage nuts and two M6x16 pan-head screws, attach the rail assembly to the rear of the rack.M6 16 Pan-HeadScrews (6 places)Front of RackM6 Cage Nuts(6 places)Tightenadjustmentscrews after rail attachment(3 places each rail).Position 4Position 1InstallationEaton 9130 700/3000 VA UPS User’s Guide 164201718—Rev 7 www.eaton.com/powerquality 15Figure 5. Securing the Rails5. Repeat Steps 3 and 4 for the other rail assembly.6. Tighten the three adjustment screws in the middle of each rail assembly.7. If installing optional cabinets, repeat Step 1 through Step 6 for each rail kit.8. Place the UPS on a flat, stable surface with the front of the cabinet facing you.9. Align the mounting brackets with the screw holes on each side of the UPS and secure with the suppliedM4x8 flat-head screws (see Figure 6).NOTE There are two sets of four mounting holes on each side of the UPS: a forwardposition and a middle position. Choose the position that meets your configurationneeds.MountingBracketM4 8 Flat-HeadScrews (4 places)Figure 6. Installing the Mounting Brackets (Forward Position Shown)10. If installing optional cabinets, repeat Steps 8 and 9 for each cabinet.11. Slide the UPS and any optional cabinets into the rack.12. Secure the front of the UPS to the rack using two M6x16 pan-head screws and two M6 cage nuts on eachside (see Figure 7). Install the bottom screw on each side through the bottom hole of the mountingbracket and the bottom hole of the rail.Repeat for any optional cabinets.
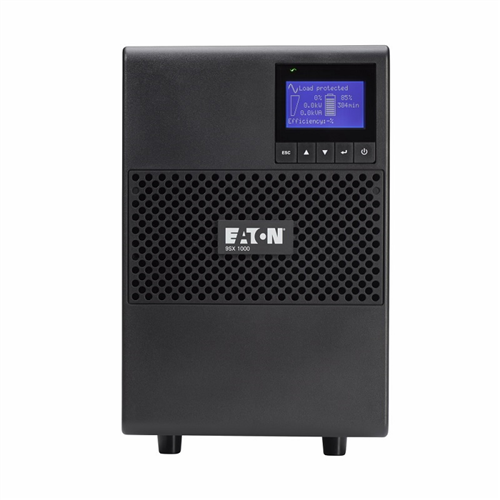
文章关键词:EATON UPS,不间断电源,PW9130I3000T-XL 230V